
Titus Morebu
Author
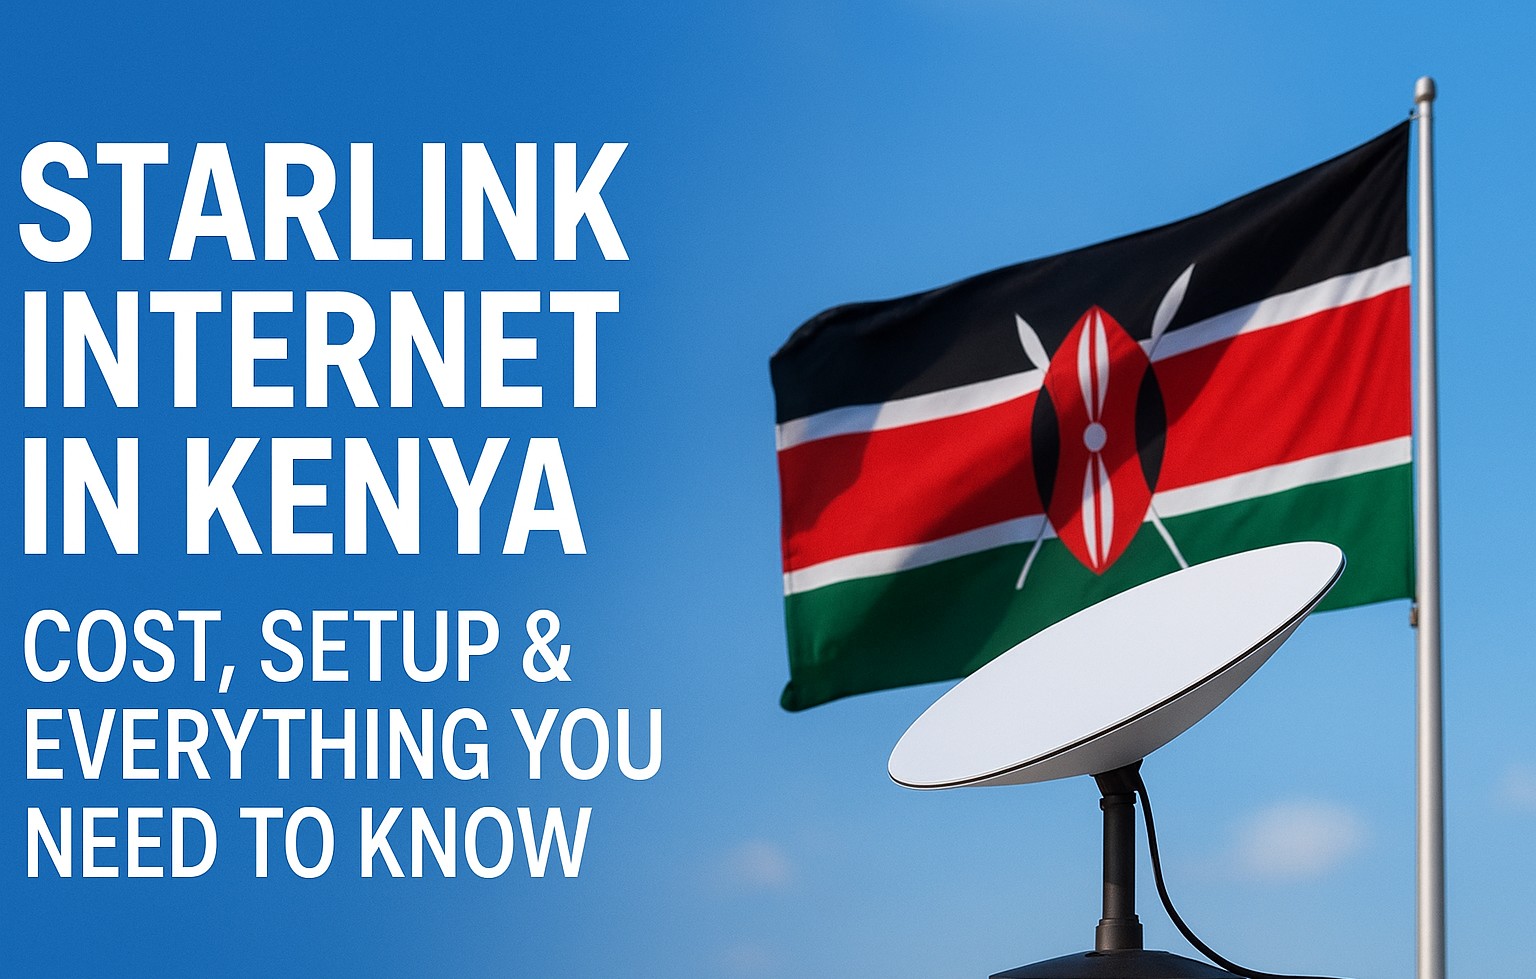
Starlink Internet in Kenya: Cost, Setup & Everything You Need to Know 🚀
Explore Starlink’s latest pricing, hardware options, step-by-step setup and performance tips for Kenya in 2025—get reliably connected even in remote areas.
Accessing fast, reliable internet in Kenya—especially beyond urban centers—remains a major challenge. Starlink, SpaceX’s satellite broadband service, promises to bridge that gap. In this guide, you’ll get the latest on how much Starlink costs in Kenya today, how to set it up, what to expect in performance, and whether it’s worth it for your home or business. 🌐
Why Consider Starlink in Kenya?
Traditional ISPs often struggle to serve remote or rural areas due to infrastructure limitations. Starlink eliminates that need by using low-Earth orbit (LEO) satellites, delivering connectivity virtually anywhere with a clear view of the sky. Its advantages include:
- Wide coverage: Ideal for areas off the fiber or cable grid.
- Low latency compared to traditional satellites: Enough for many real-time uses like video calls, streaming, remote work.
- Scalable to multiple devices: You can link many devices to the same network.
- Relatively quick deployment: Once hardware is in hand, installation can take only a couple of hours.
Starlink in Kenya: Plans, Costs & Pricing Models
Costs in Kenya vary with package, hardware choice, and whether you rent or buy the kit. Here’s a breakdown of what’s available (as of 2025) and what users report seeing in the Kenyan market.
Hardware: Buy vs. Rent
Earlier, the high up-front cost of the Starlink kit was a major barrier in Kenya. To improve accessibility, Starlink launched a kit rental model. Here are the rough figures:
| Option | Typical Price in KES | Notes |
|---|---|---|
| Buy full kit | ≈ KES 27,000 to KES 48,000 (or more depending on version) | Higher-end “Standard / Gen 3” kits push toward the upper end |
| Monthly kit rental | ~ KES 1,950/month | Requires one-time activation fee (~ KES 2,700) |
For example, Starlink Kenya now allows renting the hardware for around KSh 1,950 monthly along with an activation charge of about KSh 2,730. The rental option helps lower the barrier to entry for users who can’t afford the full hardware purchase. (You’ll still pay your subscription on top.)
Subscription / Service Plans
Once you have hardware sorted, you choose your service plan. Kenyan users report seeing the following types of plans:
- Entry / Limited plan: ~ KES 1,300/month for 50 GB (often used for lighter usage or backup).
- Unlimited / Residential options: ~ KES 4,000–6,500/month depending on speed, priority, and region.
- Business / Premium tiers: For enterprises or heavy users, speeds climb and costs are higher (tens of thousands KES).
One source suggests that the “Residential” plan in Kenya might run ~ KES 6,500/month with equipment costing ~ KES 92,000 (for premium versions), though many users never pay that high. The market is still evolving. Also, data usage, speed, and priority can differ based on network load and region.
Real-World Price Ranges & Trends
Some observed trends and reported data:
- Starlink’s official Kenya page lists ~ KES 4,000/month plus a hardware cost near KES 27,000 for its entry residential service.
- Third-party resellers in Kenya list “Standard / Gen 3” kits around KES 48,000.
- Market reports indicate on low-end plans, postpaid rates starting ~ KES 1,300/month for small data allowances.
- User conversations and Reddit threads confirm purchases of kits around KES 30,000, followed by monthly bills in line with these ranges.
Which Option is Best for You?
If you anticipate heavy usage (streaming, remote work, multiple users), go for a plan offering unlimited data or business-tier speeds. The rental option helps reduce capital cost if you cannot afford the upfront kit purchase.
Step-by-Step: How to Set Up Starlink in Kenya
Once your kit arrives, setting it up is relatively straightforward. This section walks you through the process from unboxing to getting online.
What Comes in Your Starlink Kit
A typical Starlink package includes:
- Satellite dish (sometimes called “Dishy”)
- Router / Wi-Fi unit
- Power supply / cables
- Mounting base / tripod or bracket
- Optional mounting accessories (roof bracket, pole mount, etc.)
Step 1: Choose the Right Location for the Dish
The dish must have a clear view of the sky (no trees, buildings, or other obstructions between it and the satellite view path). Here are practical tips:
- Place the dish high—roofs, poles, or elevated mounts often work best.
- Avoid nearby obstructions that could block the signal at different angles.
- Use the Starlink mobile app’s obstruction check tool before final mounting.
Step 2: Mount the Dish and Connect Hardware
Proceed with mounting as follows:
- Fix the mounting base or bracket securely (concrete, roof, or pole).
- Attach the dish to the mount.
- Run the cable from dish to the power supply and then to the router.
- Plug in power to the system. The dish autonomously seeks satellites; no manual aiming is needed.
Step 3: Configure Your Network via the Starlink App
Use the Starlink iOS or Android app to finish setup:
- Log into or create your Starlink account.
- Enter your service address (for accurate routing).
- Follow prompts to test connectivity and confirm signal strength.
- Name your Wi-Fi network and set a password.
Step 4: Activate & Test the Connection
Once connected, use the app to activate the service. Run speed tests to verify performance and confirm everything works. Monitor signal strength and latency within the app.
Troubleshooting Tips
If things don’t work right away, here are common issues and remedies:
| Issue | Potential Cause | Fix |
|---|---|---|
| No signal / cannot connect | Dish obstructed or wrongly placed | Move dish, re-run obstruction scan, elevate location |
| Low speeds or frequent dropouts | Partial blockage, misalignment, high network load | Power cycle, reposition dish, clear line-of-sight |
| Wi-Fi weak indoors | Router placement or house interference | Move router more centrally or add Wi-Fi extender |
| Latency high or unstable | Network congestion | Upgrade plan or use during off-peak hours |
Performance Expectations in Kenya
Here’s what actual users in Kenya report seeing—and what you should realistically expect:
- Download speeds: 25 to 200+ Mbps is common, depending on plan and location.
- Upload speeds: Usually in the 5–20 Mbps range.
- Latency (ping): Often 25–60 ms—suitable for most real-time tasks.
- Reliability: More consistent than many terrestrial links, especially in remote regions.
One Kenyan user shared that over 24 months, with the setup costs, Starlink was more cost-effective than continuing with a conventional ISP. In user reports, around 120–150 Mbps speeds are not unusual. Others note that the service rarely drops connectivity once set up properly.
Challenges, Risks & Considerations
Before you commit, keep these caveats in mind:
- High initial cost: Even with rental, up-front fees and activation costs apply.
- Regulatory pressures: Safaricom and others have called for rules requiring satellite ISPs to partner locally, affecting future operations.
- Service saturation: In busy areas, speeds might degrade if many users share the same satellite cluster.
- Weather impacts: Heavy rain or storms may occasionally degrade signal quality.
- Power dependency: In locations with unstable power, you’ll need backups to maintain connectivity.
Is Starlink Right for You in Kenya?
Here are scenarios where Starlink may (or may not) make sense:
Ideal Use Cases
- Rural or remote homes without reliable fiber, DSL, or cable.
- Small guest lodges, farms, or eco retreats needing consistent connectivity.
- Offices in underserved areas where uptime is critical.
- Temporary sites (construction, research camps) needing fast internet without infrastructure setup.
When Traditional ISPs May Be Better
- If you are in a city or town with high-speed fiber/cable available at much lower cost per Mbps.
- If your usage is very light and you don’t need unlimited data or high speeds.
- If the cost (kit + monthly) strains your budget.
Tips to Maximize Your Starlink Experience 😊
- Ensure the dish always has full sky view—trim trees or avoid future obstructions.
- Use wired Ethernet for bandwidth-heavy or latency-sensitive devices (gaming, cameras).
- Place your router in a central location indoors.
- Use firmware or app updates when available for performance improvements.
- Time heavy downloads or uploads in off-peak hours if your plan allows.
- Consider surge protection or power backup (UPS) to maintain uptime in outages.
Next Steps & Resources
If you’re ready to get started:
- Check current availability and order via the Starlink official page (for Kenya).
- Compare local resellers and offers to ensure you get the best price.
- If unsure about installing yourself, consult local installers who specialize in Starlink setup.
- After installation, monitor performance, usage, and plan adjustments as needed.
Also consider reading broader reviews of Starlink’s performance globally—Wikipedia’s Starlink page offers a solid overview of how the technology works and its global deployments.
With the right setup, Starlink can open up high-speed connectivity in parts of Kenya that have long been left behind by terrestrial ISPs. While price and regulatory dynamics are evolving, for many users it’s becoming a viable and game-changing option. 🚀
Gallery

Related Articles
3 articles
Link PayPal to M-Pesa: Complete Kenya Guide
Step-by-step, up-to-date guide to link PayPal and M-Pesa in Kenya — send, receive and withdraw funds safely using official PayPal, M-Pesa and Xoom options.

How to Register for PayPal in Kenya – 2025 Step-by-Step Guide
A clear, up-to-date guide on how to register and verify a PayPal account in Kenya, link M-PESA or bank, and start sending or withdrawing funds.

Recommended Mobile Banking Apps in Kenya (2025)
Discover the leading mobile banking apps in Kenya, compare features, security, usability & choose the best app for you in 2025.